
Databending for Dummies
Data is mutable. It can be created, destroyed, bent and broken. Though most importantly, data is interpreted, the oganization of ones and zeros could represent an image of the Mona Lisa, the text of a Shakespearian sonnet, or the audio of Bohemian Rhapsody. Over time data has evolved, it has been optimized, compressed, and organized to fit specific uses. For the most part this leaves data files wholly separate and incompatible with one another in the sense that text data cannot be compressed using the .jpeg file format, .png files cannot be read into an audio editor, etc. But with some careful planning and a little patience, we can blur the lines between file types and treat data in ways it never was meant to be treated. In this post, I will guide you through how to load images into an audio editor and edit them as if they were audio data.

The .raw file format is our friend here, as long as we can get an image into .tiff or .bmp we can roll it into RAW data. As audio data .raw files can be manipulated as any audio file. We can apply filters, add noise, and cut and splice. The result is an endless array of ways to bend your images, glitching them slightly or intensely (or sometimes breaking the file entirely).
Many online guides to data bending require the user to have access to proprietary software like the Adobe suite. But we can do so much better: the world of Free Open Source Software (FOSS) is wide and fruitful. All we need is GNU Image Manipulation Program (GIMP) and Audacity. Here are the simple steps to databend using only FOSS.
- Open an image in GIMP, take note of its HxW dimensions.
- Export the image, force its file-type to be Raw Image Data. When prompted, save it as Planar RGB type.
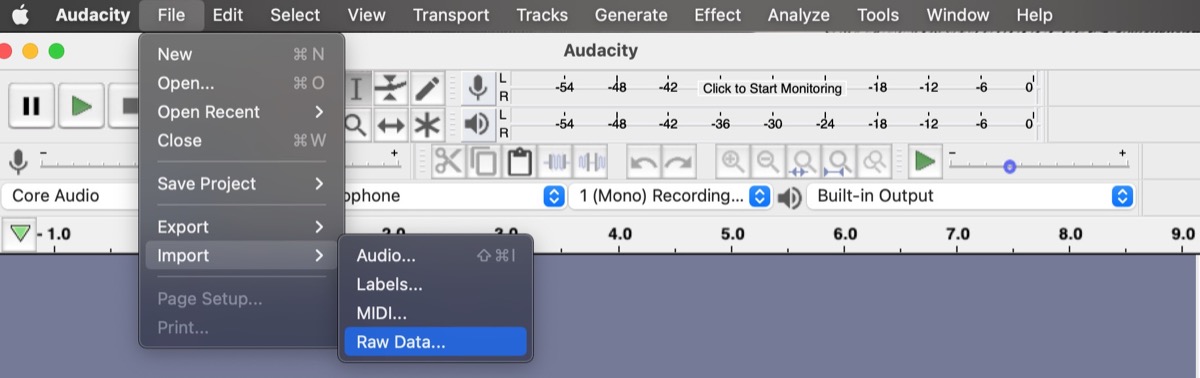
- Open Audacity and import the newly saved image as Raw Data. Assign U-Law encoding, no endianness byte order, and Mono channel.
- Apply effects like wahwah, phaser, or reverb. Or cut and paste portions of the image. Normalize?
- Export as Other uncompressed files and give it a RAW (Headerless) Header and U-Law encoding.
- Back to GIMP, open the new image, force it to open as a Raw image data. Re-enter its original HxW dimensions and give it the Planar RGB image type.

Other Data Manipulation
The Python Image Library package exposes the discrete mutability of image files in a way that allows us uber haxors to manipulate them on a pixel-by-pixel basis.
Once we've successfully situated ourselves to be eye-level with the pixel-bros, it's hard to miss the fact that every one of these bros are defined (in a simple case) by 3 values: R G B. The structure of the image data itself is also unmistakably an array, one that we can step through one element (bro) at a time or intelligently by rows of pixels. We can get even more intelligent by constructing array masks to isolate subregions within the image to cycle over, something like a Sobel filter is particularly useful. When cycling, we can play around with the pixels using the RGB color levels to do things like sort by apparent luminosity.

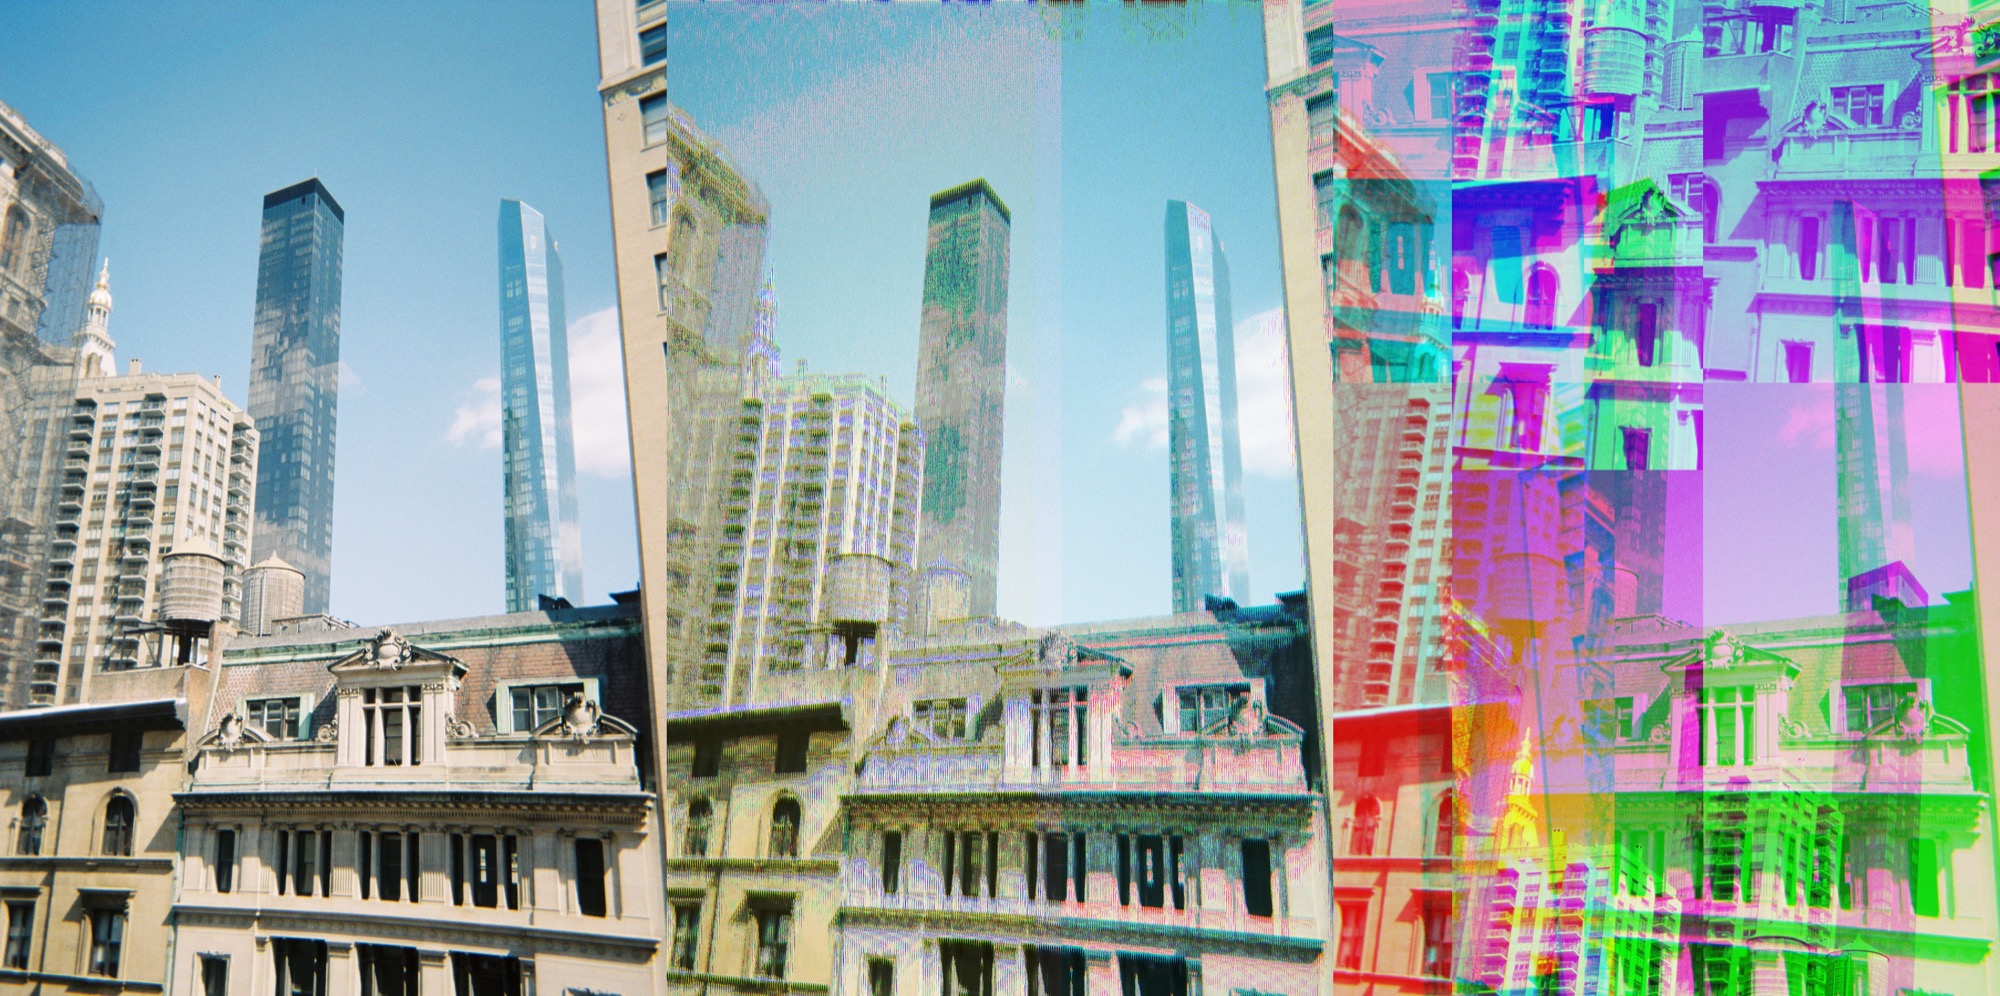
Above is one such example of this. I've used a Sobel filter array mask to detect edges in the image and then cycle through the masked image to then sort the pixels within regions that are not broken up by an edge. By playing around with the sorting region threshold and stitching the images into a gif, I can achieve this nice glitchy effect. You can try the same here — Github
ICN files: To Poodle a Noodle
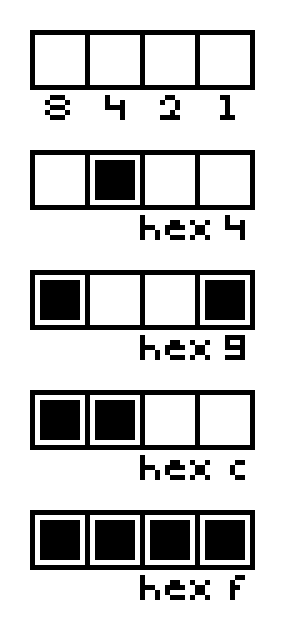
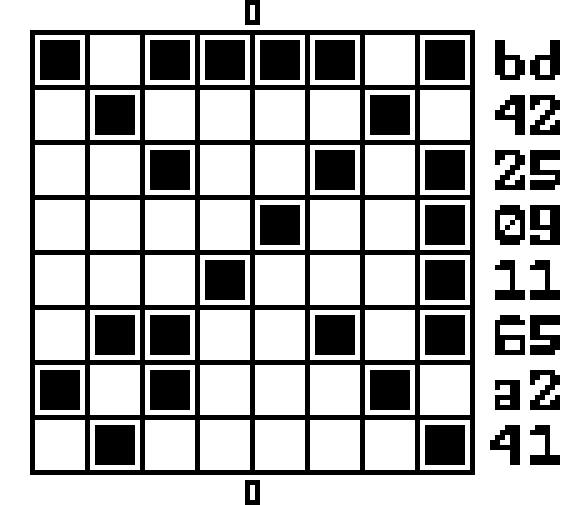
When working with 1-bit images, image files can be pared down to a considerably simpler format. The ICN file format is specifically designed to be as lightweight as possible to represent 1-bit graphics. It is used throughout the Varvara ecosystem and is the file format output by the Noodle 1-bit drawing program. Given 4 pixels, there are 16 possible states corresponding to the permutations of pixels being on/off. Hence, a line of 4 pixels can be represented by a hexidecimal 0 through f. From there, an 8x8 grid of pixels is represented by 16 hexidecimal digits with each line of 8 pixels represented by a hex-pair for the left and right halves of the line. Since a hex-pair makes a byte, an 8x8 ICN tile represents all 64 of its internal components in only 8 bytes.
Putting all this together, these 8 byte tiles can then be concatenated together into a larger images. It's through this understanding of the ICN format that i designed poodle, a 50-line python script which converts ICN files to PNG format. It works by reading in an ICN file as a bytestream which is then cut into 8-byte chunks. Each chunk is converted to a little 8x8 pixel PNG using the pillow python library. After, the collection of PNG tiles are squeezed into rows which then stacked into the final image. The 1-bit images displayed here were made in Noodle and converted to PNG with poodle.
I also found that 1-bit PNG images can be very easily scaled in size without any weird interpolation effects. A quick bash function packed into a simple alias does the trick.
    imscale() { convert "$1" -interpolate Integer -filter point
                -resize ""$2"%" "$2""$1"; }

    # To scale pdl.png up by 500%
    $ imscale pdl.png 500